

Good wall prep for painting is roughly 60 to 70 percent of the labour on a proper repaint, and it is the part that decides whether the coating lasts two years or eight. The painting itself is the quick bit.
Here is the sequence professionals actually follow, in order, and what happens when a step gets skipped.
Wall prep for painting: the full sequence
Every step exists because the next one fails without it. Do them in this order.
- Clear and protect the room
- Inspect and diagnose the wall
- Scrape off everything loose
- Wash the surface
- Fill cracks and holes
- Sand and feather
- Dust off completely
- Prime or seal
- Mask and cut in
Step 1 — clear and protect
- Move furniture to the middle and cover it
- Drop sheets over floors, taped at the skirting edge
- Remove switch and socket covers rather than masking around them
- Take down curtain rails, hooks and picture fittings
Step 2 — inspect before you touch anything
Look for the things that change the whole job: damp tide marks, salt crystals, hollow-sounding plaster, cracks wider than a 2 rand coin edge, and mould. Tap suspicious areas with a knuckle. A hollow sound means the plaster has separated from the brick and no amount of filler will hold it.
Cracks that keep coming back, or that run diagonally from window and door corners, are movement rather than shrinkage. Our guide to why walls crack explains which ones need a structural look before painting.
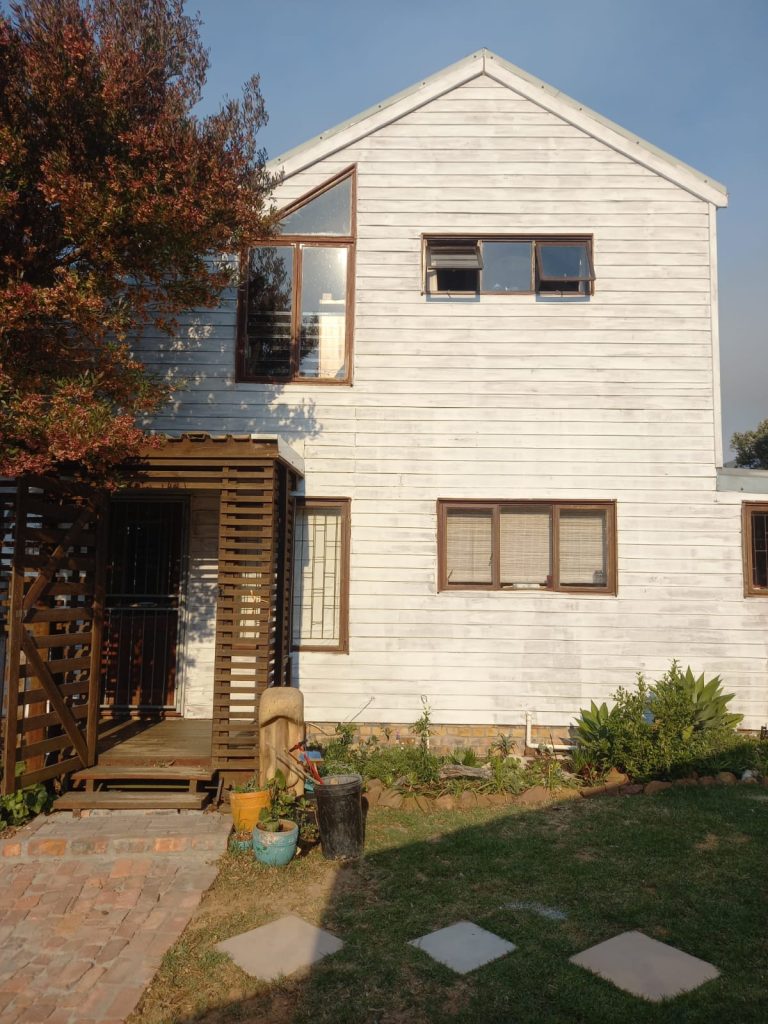
Cleaning, filling and sanding
Scraping and washing
Scrape all flaking and blistered paint back to firm material with a stiff scraper, feathering the edges. Then wash.
- Sugar soap for general grime, grease and kitchen walls
- Fungicidal wash for mould and algae, left on for the stated dwell time
- Rinse with clean water, because sugar soap residue stops paint adhering
- Let it dry fully before anything else happens
Filling
- Hairline and shrinkage cracks: rake them open slightly first so the filler has something to key into
- Nail holes and dents: standard interior filler, slightly proud, then sanded flat
- Wider or moving cracks: flexible acrylic filler, not a rigid powder filler
- Deep holes: build up in layers, letting each one dry, rather than one thick fill that shrinks and cracks
Sanding
Around 120 to 180 grit for filled patches, working outward so the repair blends into the surrounding wall. Then vacuum and wipe with a damp cloth. Dust left on the wall is a bond breaker, and it is the single most skipped step in DIY painting jobs.
Priming: which product for which surface
Priming is not an optional upsell. It is what gives the topcoat something to hold on to.
- New or bare plaster: plaster primer, once the plaster has cured for about 4 weeks
- Chalky old exterior paint: bonding liquid after washing, applied to the sound remaining coating
- Filled patches: spot prime, or the repair flashes through as a dull mark in the finish
- Stains, smoke and water marks: a stain-blocking primer, because ordinary paint lets them bleed through
- Bare timber and metal: their own dedicated primers, never wall primer
- Old oil-based enamel: sand to a key and use an adhesion primer before any water-based topcoat
When filling is not enough
Filler fixes local defects. It does not fix a wall that is generally uneven, patchy or covered in old repairs. Once you are filling more than about a fifth of a wall, skimming is faster, cheaper and gives a far better finish.
- Wavy or bumpy old plaster
- Extensive crazing or map cracking across a whole wall
- Multiple large patched areas from previous repairs
- Old textured coatings that you want gone
A skim coat gives a flat, uniform surface that paint sits on evenly, and it is priced per square metre. See our skimming service, or read skimming plaster for what the process involves.
Exterior prep is a different job
Outside walls need the same sequence plus a few extras that only matter under weather.
- High-pressure wash to remove chalk, dirt and growth, then several days of drying
- Check gutters and downpipes — a blocked downpipe will ruin the new paint within a season
- Rake and seal cracks with a flexible exterior crack filler
- Reseal window and door perimeters where the old sealant has hardened or split
- Treat damp at source before coating, never after
If a wall shows a tide mark or salt deposits, that is a damp problem and needs waterproofing attention rather than heavier preparation. Painting over it just resets the clock.
How long prep takes, and what it costs
On an average three-bedroom interior, preparation typically takes two to four days before the first coat. Exteriors take longer because of washing and drying time.
- Cape Town painters charge roughly R450 to R900 an hour for labour
- Most quotes fold preparation into the per-square-metre rate
- Heavy prep, damp repair and skimming are usually itemised separately
A quote with no prep line at all is a warning sign, not a bargain. Our painters Cape Town guide covers what a complete quote should list.
Getting it done right
We quote preparation as a visible line item so you can see exactly what you are paying for. The assessment is free and there is no call-out fee. See our painting services or get in touch.
Frequently asked questions
How do you prep walls before painting?
Clear and protect the room, inspect for damp and hollow plaster, scrape off everything loose, wash with sugar soap and rinse, fill cracks and holes, sand smooth and feather the edges, remove all dust, then prime bare or chalky areas. Only then does the first coat go on. Paint performance standards in South Africa are set out by the South African Bureau of Standards.
Do I need to wash walls with sugar soap before painting?
Yes on anything grimy, greasy or previously lived on, and always in kitchens. Sugar soap removes the film that stops paint bonding. Rinse afterwards with clean water, because leftover residue is itself a bond breaker, and let the wall dry fully before filling or priming.
How long should filler dry before painting?
Follow the product instructions, but as a guide give shallow filler a few hours and deep repairs overnight. Build deep holes up in layers rather than one thick application, which shrinks and cracks. Sand once fully hard, then spot prime the patch so it does not flash through the topcoat.
Should I sand walls before painting?
Sand filled patches and any rough or glossy areas, typically 120 to 180 grit, working outward so repairs blend into the surrounding wall. Then vacuum and wipe with a damp cloth. Skipping the dust removal is the most common DIY mistake, because dust prevents the paint bonding.
When should walls be skimmed instead of filled?
Once you are filling more than roughly a fifth of a wall, or the surface is generally wavy, crazed or covered in old patch repairs, skimming is faster and gives a much better finish than chasing individual defects with filler. Skimming is priced per square metre and needs curing time before painting.